 EN
EN

Въведение
Покривните системи са изправени пред множество предизвикателства: топлоизолация, дренажен наклон, пожарна безопасност, намаляване на структурната товароносимост и дългосрочна съвместимост с водоустойчиви материали. Традиционните покривни решения, като например предварително произведени топлоизолационни плочи, имат очевидни недостатъци: междинни шевове, голяма собствена тежест, сложна работа по оформяне на наклон и скрити рискове от протичане на вода.
Пяна-бетонът за изливане на място (клетъчен бетон) е станал популярна алтернатива за съвременните равни и малко наклонени покриви. То осигурява топлоизолация и формиране на наклон с едно наливане, притежава огнеустойчивост от клас А, ниско мъртво натоварване и монолитна безшевна производителност. Този блог обхваща основните му предимства, стъпка по стъпка строителен процес на място, точки за контрол на качеството, чести дефекти и избор на оборудване за покривни проекти.
Какво представлява бетонът с пяна, наливан в конструкцията, за покриви?
Бетонът с пяна е циментова неорганична лека материя. Стабилна пяна се смесва с циментов разтвор на място, след което се подава под налягане и се налива директно върху покривни плочи. Сухата плътност за топлоизолация на покриви обикновено варира от 300 kg/m³ до 500 kg/m³. След затвърдяване се образуват милиони затворени микроскопични въздушни клетки, които осигуряват както топлоизолационни, така и леки свойства.
Основни предимства за приложение на покриви
1. Едностъпенна топлоизолация и формиране на наклон
Няма нужда от отделно оразмеряване на топлоизолационни панели. Новата пяна-бетонна смес се подава под налягане и свободно се разлива по повърхността на покрива. Изпълнителите могат да създадат проектирания дренажен наклон в една операция, значително намалявайки работното време. Идеално за големи търговски покриви, покриви на фабрики и проекти за реновиране.
2. Лека тежест — намалява структурната товароносимост
В сравнение с обикновения бетон пяна-бетонът значително намалява постоянната товароносимост. Той е идеален за ретрофит на покриви на стари сгради, където оригиналната конструкция има ограничена товароносимост. Това избягва претоварването на покривните греди и плочи.
3. Негоримост от клас А
Като циментова неорганична материя, тя не гори и не отделя токсичен дим при пожар. Отговаря на строгите изисквания за пожарна безопасност в сградите за обществени и промишлени цели.
4. Монолитен безшевен слой
Монтирането на място изключва шевовете между панелите. Няма скрит канал за просмукване на вода между изолационните блокове, което намалява риска от водни канали под водоустойчивите мембрани.
5. Добра съвместимост с водоустойчивите системи
След пълно отвръхване и правилно изсушаване подложката от пенобетон работи добре с битумни мембрани, TPO и други водоустойчиви покривни слоеве. При правилно проектирана вентилация поддържа дълъг експлоатационен живот на покрива.
Стъпка по стъпка процес на монтиране на покрив чрез заливане на място
1. Подготовка на основната повърхност
Почистете структурната бетонна покривна плоча. Премахнете праха, рохкавите отпадъци и застоялата вода. Поправете пукнатините и повредените участъци предварително. Ако е необходимо, нанесете грунд или основен водонепроницаем слой и извършете инспекция преди изливане на пенобетона.
Поставете компенсационни шевове / делителни шевове за големи покривни площи, за да се разтовари напрежението от свиване. Предварително обработете детайлите около парапетните стени, вентилационните тръби и проникванията в покрива.
2. Задайте референтни маркери за височина и наклон
Инсталирайте референтни точки за височина по цялата покривна площ. Отбележете дебелината на слоя пенобетон, включително минималната дебелина и разликата във височината поради наклона. Следвайте проектния наклон за отводняване (нормално 2 % при материален наклон). Всички референтни точки трябва да бъдат проверени преди заливане.
3. Смесване и подаване на материали на място
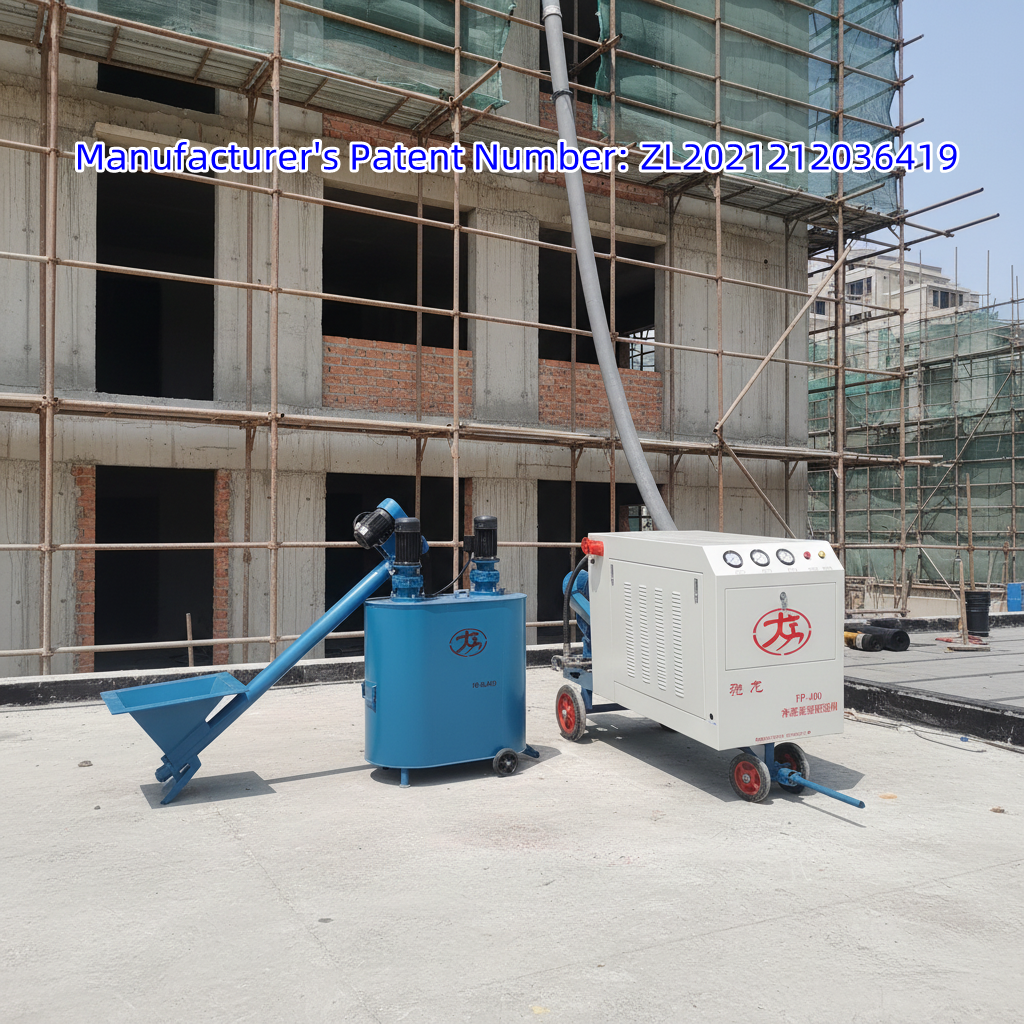
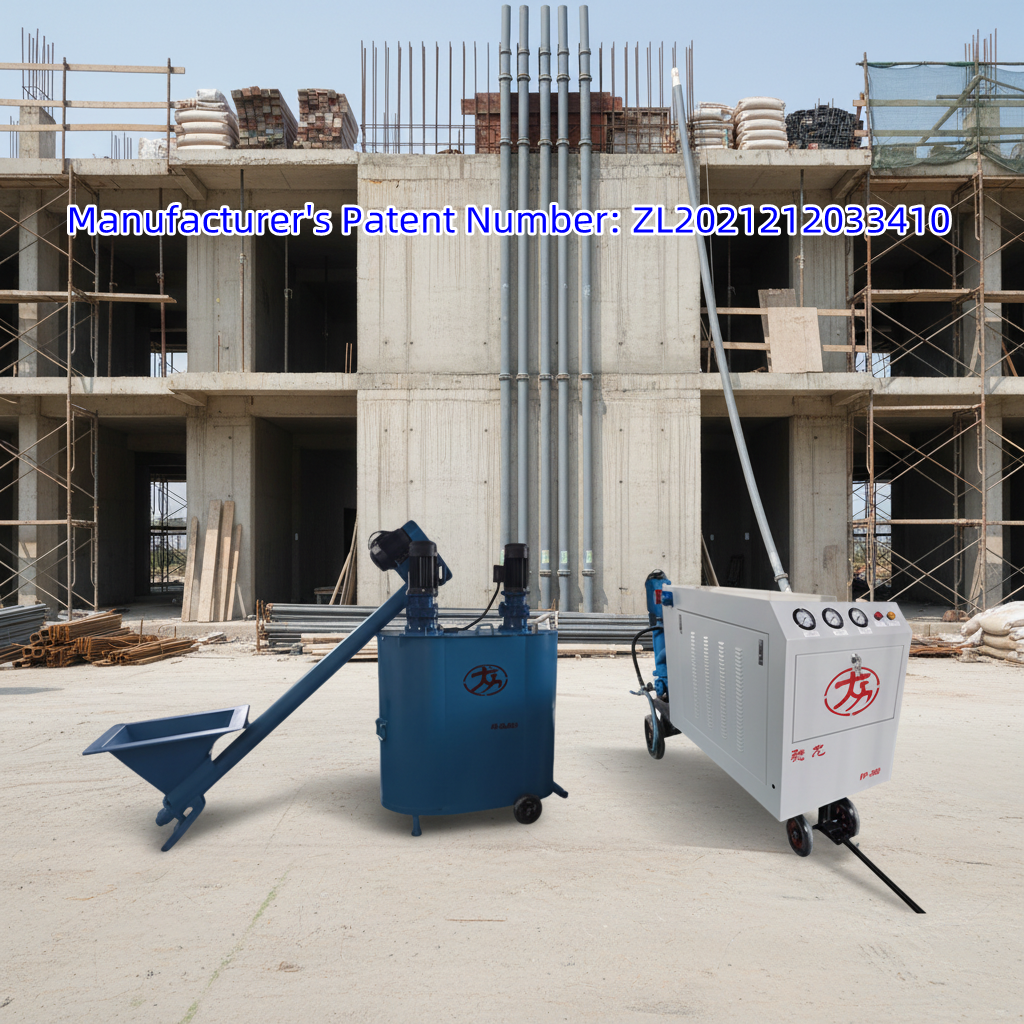
Професионално оборудване за пяна-бетон генерира стабилна финa пяна и хомогенно смесва пяната с циментовия разтвор. Готовият лек разтвор се подава под налягане към работната повърхност на покрива.
Важно забележка: Заливайте от единия край, като постепенно напредвате към другия. Когато проектната дебелина надвишава 200 мм, прилагайте многослойно заливане. Следващият слой може да се залива едва след като долният слой е достигнал окончателно втвърдяване. Запазете височината на изпускане под 1 метър, за да се предотврати колапсиране на пяната.
4. Разпределяне и оформяне на наклон
Ползвайте естествената течност на пресната разтворна смес за първоначално изравняване. Използвайте дървени или метални рейки за регулиране на наклона на покрива според референтните точки. Внимателно уплътнете материала около тръбните преминавания и ъглите на парапета, за да се избегнат празнини. НЕ използвайте вибрационни инструменти – вибрацията унищожава мехурчетата от пяна и рязко увеличава плътността.
5. Отвличане, сушене и последващи хидроизолационни работи
Осигурете влажно отвличане поне 7 дни. Пазете пресния слой от директно силно слънчево въздействие и порои. Предоставете достатъчно време за изсъхване преди монтиране на хидроизолационната мембрана.
При големи покриви инсталирайте вентилационни тръби и вентилационни канали, за да се отведе вътрешното парно налягане и да се предотврати образуването на мехури и повреждането на горните хидроизолационни слоеве.
Ключев списък за контрол на качеството
- Контрол на плътността: Плътност в сухо състояние на изолационния слой по покрива – 300–500 kg/m³. Измерване на влажната плътност на място – партида по партида. Твърде висока плътност води до загуба на топлоизолационни свойства; твърде ниска плътност води до недостатъчна компресивна якост.
- Температурни ограничения: Монтажът трябва да се извършва при температура на околната среда от 5 ℃ до 40 ℃. Сприйте заливането по открит покрив по време на дъжд. Приложете мерки против замръзване в среда с ниска температура.
- Без вибрация: Изравняване само чрез шлифоване. Вибрацията разрушава структурата на затворените клетки на пената.
- Делени / компенсационни шевове: Задължително се предвиждат за покриви с голяма площ, за да се намали напрежението от свиване.
– Пълно изсъхване преди водонепроницаемост: Прилагането на водонепроницаема мембрана върху недостатъчно изсъхнал пянов бетон е основната причина за образуване на мехури по покрива.
Чести проблеми на строителната площадка и техните решения
1. Повърхностни пукнатини
Причини: Бързо изпаряване на вода без отглеждане; твърде голяма дебелина при единично наливане; липса на делителни шевове.
Решение: Незабавно покриване за отглеждане с влага след завършване; наливане в слоеве; изпълнение на подходящи делителни шевове.
2. Разделяне на разтвора и тежко утаяване в дъното
Причини: Твърде високо съотношение вода–цемент, пянаобразувател от ниско качество, недостатъчно разбъркване.
Решение: Строго контролиране на количеството вода; използване на сертифициран пянаобразувател; настройка на оборудването за получаване на финa и равномерна пяна.
3. Недостатъчна якост, прахосване на повърхността
Причини: Недостатъчно количество цимент, неподходящо отглеждане, изпълнение на строителни работи при замръзващи температури.
Решение: Спазване на проектната смесова пропорция; гарантиране на необходимия период за отглеждане; спиране на външното бетониране при студено време.
4. Пуфтране на водонепроницаемата мембрана
Причини: Задържаната пара в слоя от пяна бетон.
Решение: Инсталиране на вентилационна система за покрива; изчакайте материала да изсъхне напълно, преди да се инсталира водонепроницаемият слой.
Избор на оборудване за проект с пяна бетон за покриви
- Проекти за реновиране на малки и средни покриви: Мобилна интегрирана машина за пяна бетон, лесна за транспортиране на покрива, гъвкава за разпръснати работни задачи.
- Проекти за големи търговски и промишлени покриви: Разделена конфигурация: генератор на пяна + смесител + подаващо помпено устройство. По-висок капацитет за непрекъснато заливане на големи площи.
- Аксесоари: Пробни форми за бетон; вземайте проби от всяка партида, за да се изследват сухата плътност и компресивната якост.
Заключение
Монтирането на пяна бетон на място осигурява комплексно решение за покриви: топлоизолация и формиране на наклон в едно заливане, лекота, огнеустойчивост и непрекъснатост. Въпреки това добрата производителност зависи строго от съотношението на компонентите, последователното наслагване, изпълнението на ставите и подходящото отвличане.
При правилно проектиране и изграждане пенобетонът осигурява издръжлива и икономична топлоизолация на покриви за нови сгради и проекти по реновиране на покриви.